In this post, we look at all the best techniques for tidying up your cable management on your Battlestation, with these tips youll be taking the cable management of your gaming desk to the next level.
Table of contents
Once you’ve conquered the beast that is your actual rig, with PSU shrouds, cable clips, SSD mounts, internal spaces behind the motherboard panel and all the rest of those internal tricks that make your rig look as epic as it does: its time to turn your attention to your surroundings, to the keyboard and mouse cable that trail flimsily across your desk, to your primary power cable that runs hastily along the floor to a socket and all those other things you have been ignoring, until now.
There are many ways to tackle this, you can achieve a lot by only doing sort of 75% of the work, what I mean by this, is you don’t need to go insane hiding every single wire, sometimes its just not possible, but by taking the bulk of them and zipping them out of the way, you’ve already won half the battle.
Its worth noting this probably wont help your bench-marking, or improve your shot in CS:GO, but we spend a lot of time in these places, the cables might as well be nice.
Under Desk Management
The number 1 technique that I can advise, is to get yourself some method of lifting everything that typically falls against your back wall, up, to the top of your desk. You will lose your webbed footrest with this, but to clear up that back wall is the first big step to enlightenment, and there are a few techniques you can employ.
Netting
Like below, we can fix a net of some sort to the underside of our tabletop, go here to see the other cable management techniques employed in this battlestation. Netting is probably the direction I would take if I were to do mine again. You can also see that even tape is made use of on the below. If it works, it works!
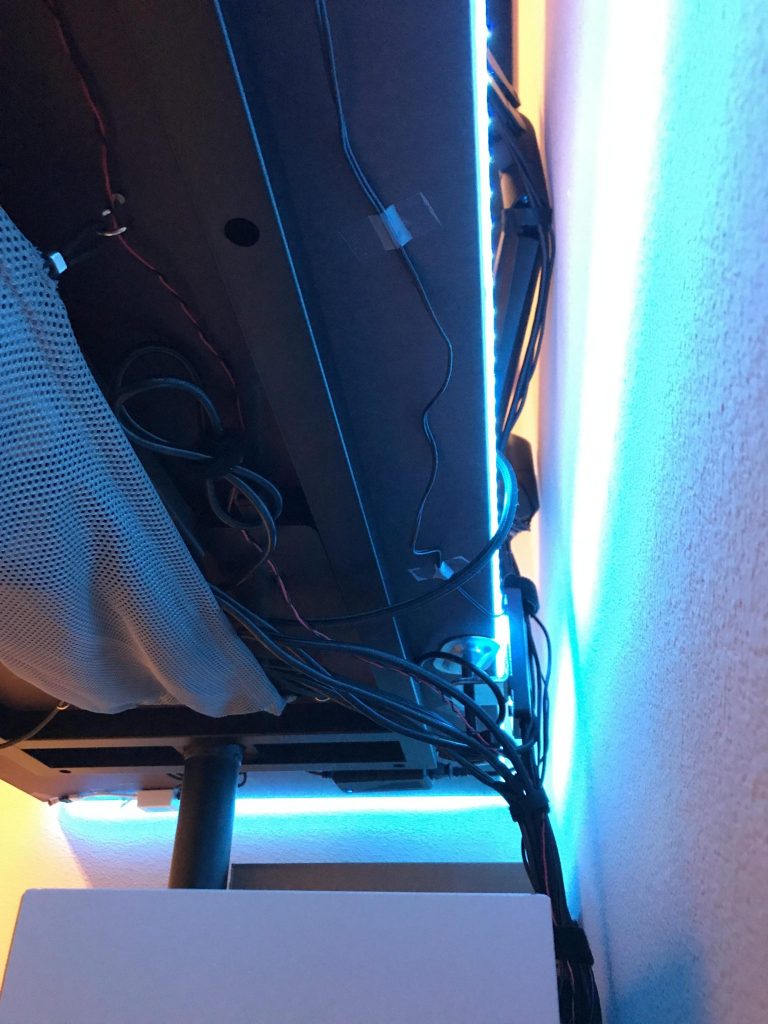
Don’t get me wrong, this looks like a fairly fancy net, you might even say built for purpose, but you don’t need to go that far, literally any form of netting, take it and screw it or stick it to the underside of your desk, and you have arguably the most flexible underside catchment area going, where you can sling everything in, and not worry about it.
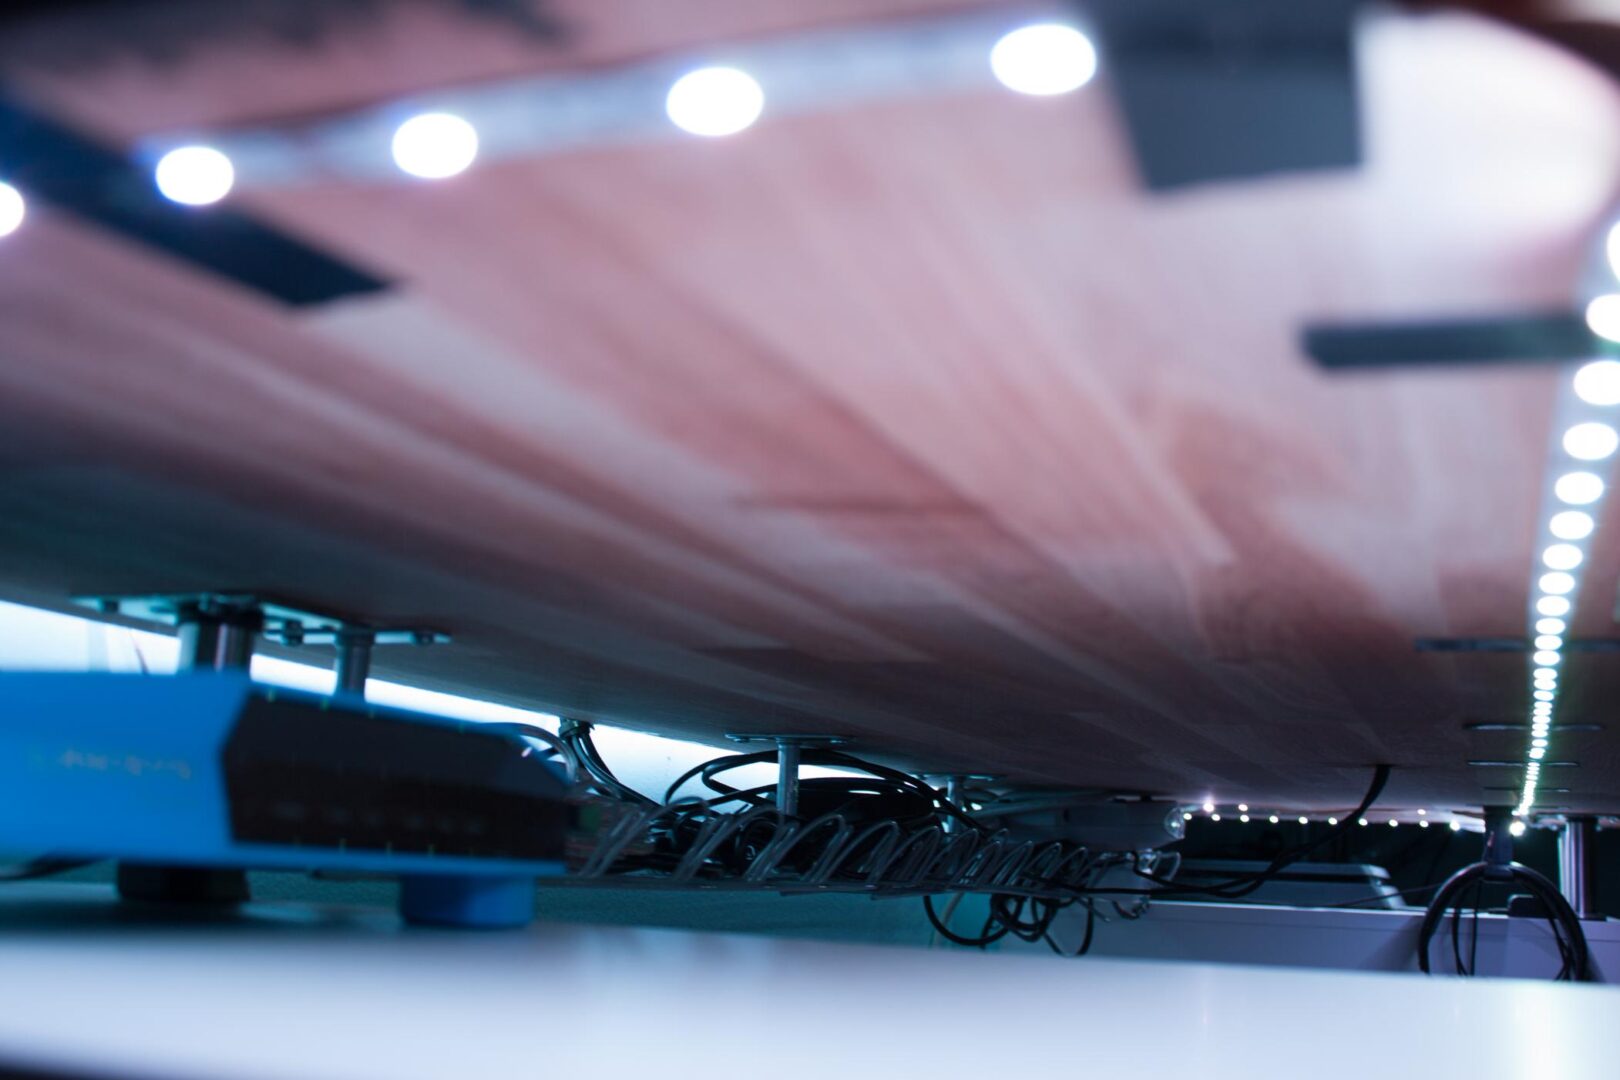
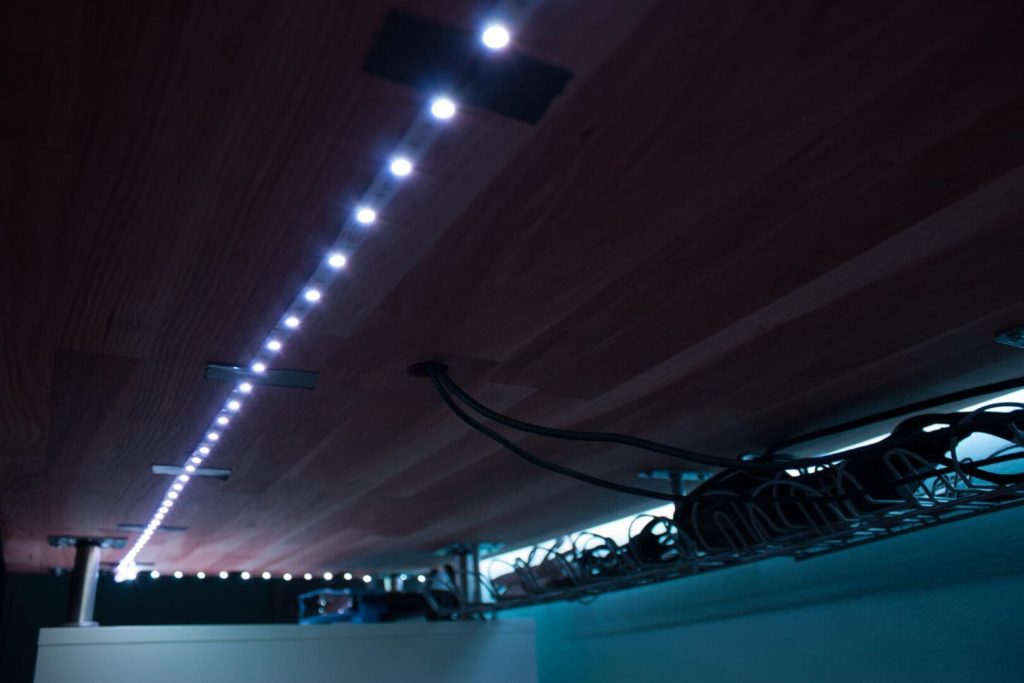
Undertray
There is under desk cable management, which is essentially putting a sort of cage or under-tray on the underside of your desk, this is actually my personal technique of choice, there are hundreds of these available on Amazon, they all do the same thing at the end of the day, they hold the cables.

Mine is a fairly thick one because you can see in the left-hand side of it, I choose to keep my primary power block on it, and though I haven’t done the left-hand side very well, you see that clean wall? That’s what its all about, plenty of room for me to put my feet and ultimately make a mark.
Mine cost less than £20, and is screwed into the desk, so I know i can fill that thing and its going to cope, it also has top covers that try to keep everything contained, however the wires are scheming, they do bulge out in locations, but the point being, what momma’ dont know, cant hurt her, from a seating position or simply stood in the doorway, this whole thing is invisible, and that is what were going for.

See this post for how baecitylights’ did his undertray, even employing a drill to make a hole, for his mouse and keyboard
Sticky back loops, with cable ties
I won’t lie, this is definitely the most ghetto solution, and if you’re under there inspecting it, it’s not going to be the prettiest either, but, its also probably the cheapest, and makes use of things you’ve probably already got laying around.
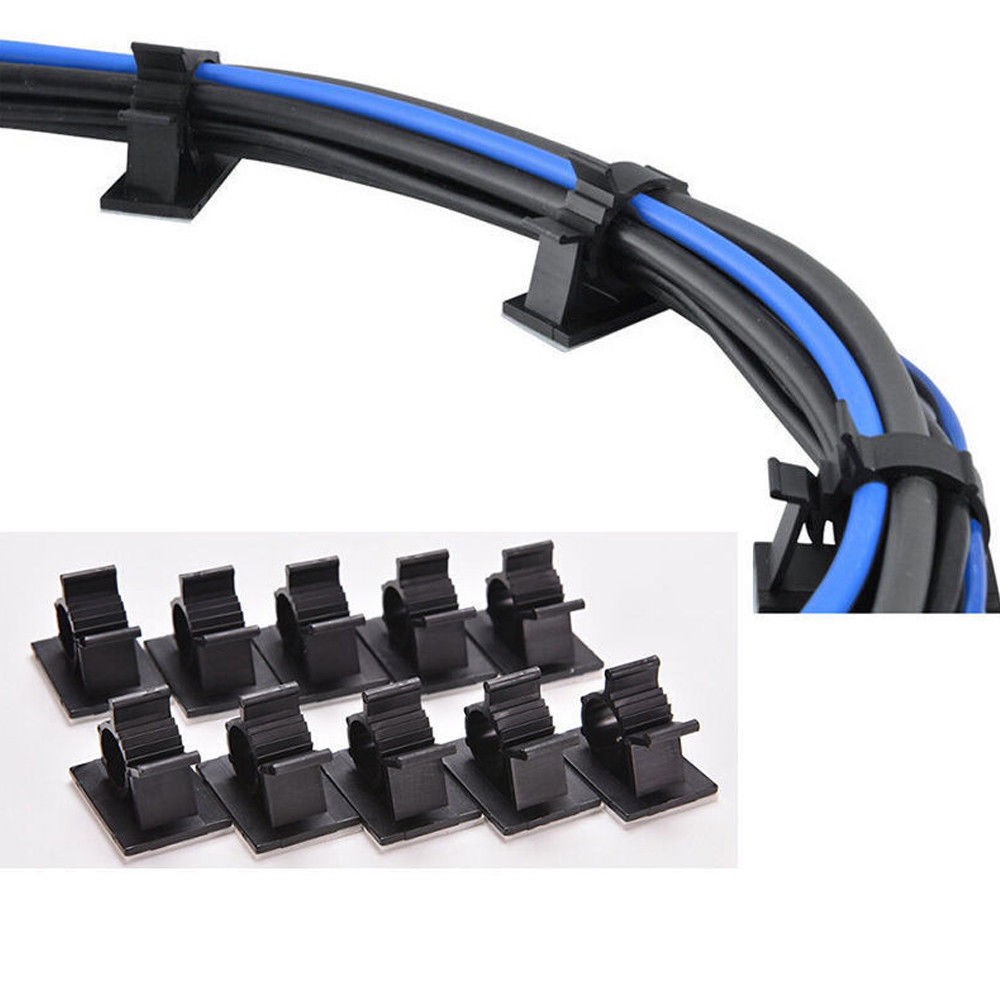
Now, there are a few different variations of this, but ultimately it’s going to look the same, don’t get me wrong, it doesn’t matter because you aren’t going to be able to see it, but its worth thinking, what if you change something? What if you add an item of the cabled variety to your battlestation.
Maintaining something like the above is going to be difficult, you have to either cut them if you’ve used regular old cable ties, or perhaps you went for adjustable ties of some sort, you’ve still got to route that cable through every single one, so factor that in.
If the cost-saving outweighs the effort for you, then I say go for it, remember, the important thing to remember is you won’t see it 99% of the time unless it’s really good, then you might find yourself staring at it more than your sitting at your rig.
Cable Ties
Now, when I say cable ties, I know what your thinking, your imagining those little plastic items that click along as you tighten them, and remain there for the end of time, until you take something sharp to them, when it comes to making an adjustment.
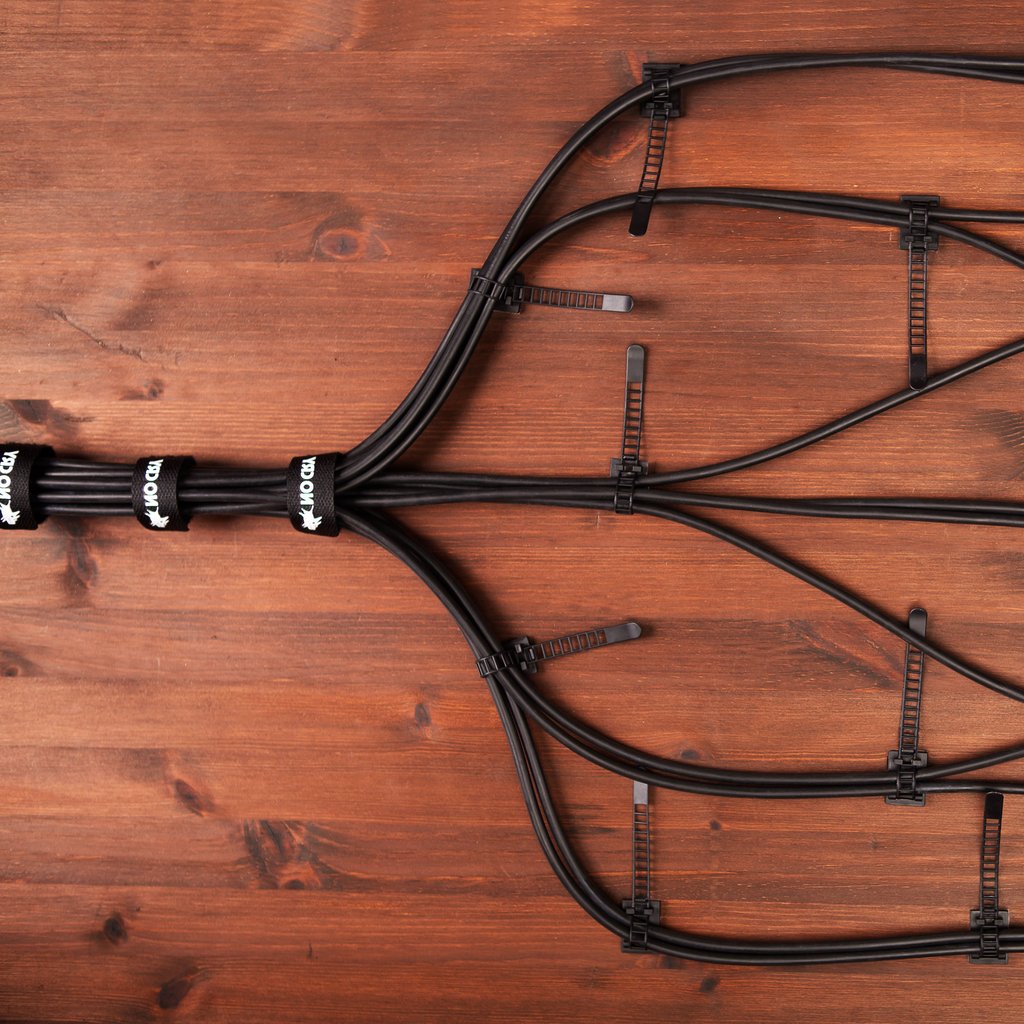
Don’t get me wrong, a plain old cable tie is still going to do the job, but come on its 2019, time to upgrade. The biggest favour you will ever do your battlestation is to get a pack of velcro cable ties, these things are great. Plenty strong enough for our applications, and you don’t have to commit! Don’t like the positioning? rip em’ open, get something new you need to weave into a group of cables? rip em’ open, you get the idea.
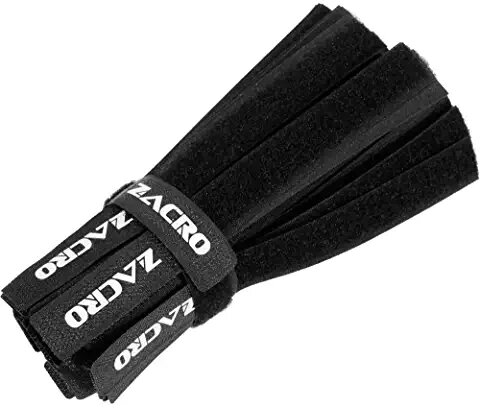
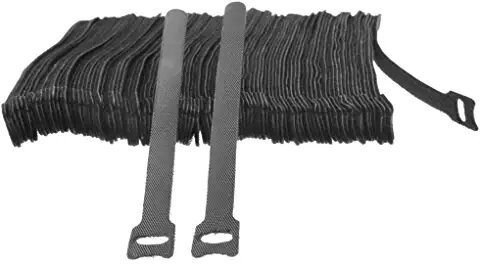
They come in all shapes and sizes, my personal favourites are these, the Fisuals, they come in a pack of 20, and they’re £3.99, but heres some more on Amazon. what else can you get 20 off for less than 4 quid?! Nothing! They’re a solid investment, use these guys to wrap up your core cable situation, or maybe you wanna bunch everything up that leaves the back of your PC, these are good for it.
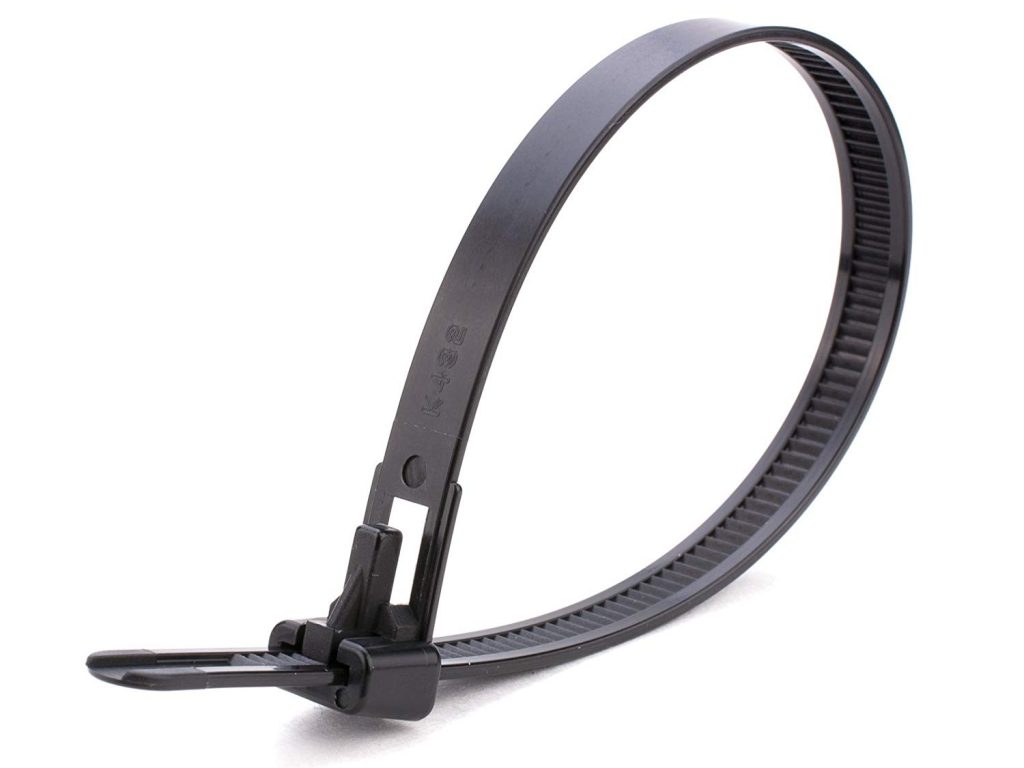
Allergic to Velcro? fear not, there is a happy middle ground for you to enjoy, the world of adjustable cable ties, now these are going to be strong, probably even stronger than their Velcro counterparts, but have the benefit of an easily accessible clip, that you can unlock and unroll the tie!

You could take any of these cable tie methods, and go to town on your battlestation, suddenly 6 cables coming out of the back of your rig, become one. It’s like I always say, United we stand, divided we fall. Same for the cables.
You could even go as far as wrapping up the cables in your newly acquired and implemented undertray, but that’s just being plain fancy.
If you’ve got an area of cable that cant be managed easily, and there’s more than one cable, you could wrap the cables together to create one albeit larger, cable, but it certainly looks better than loads of them strung along together.
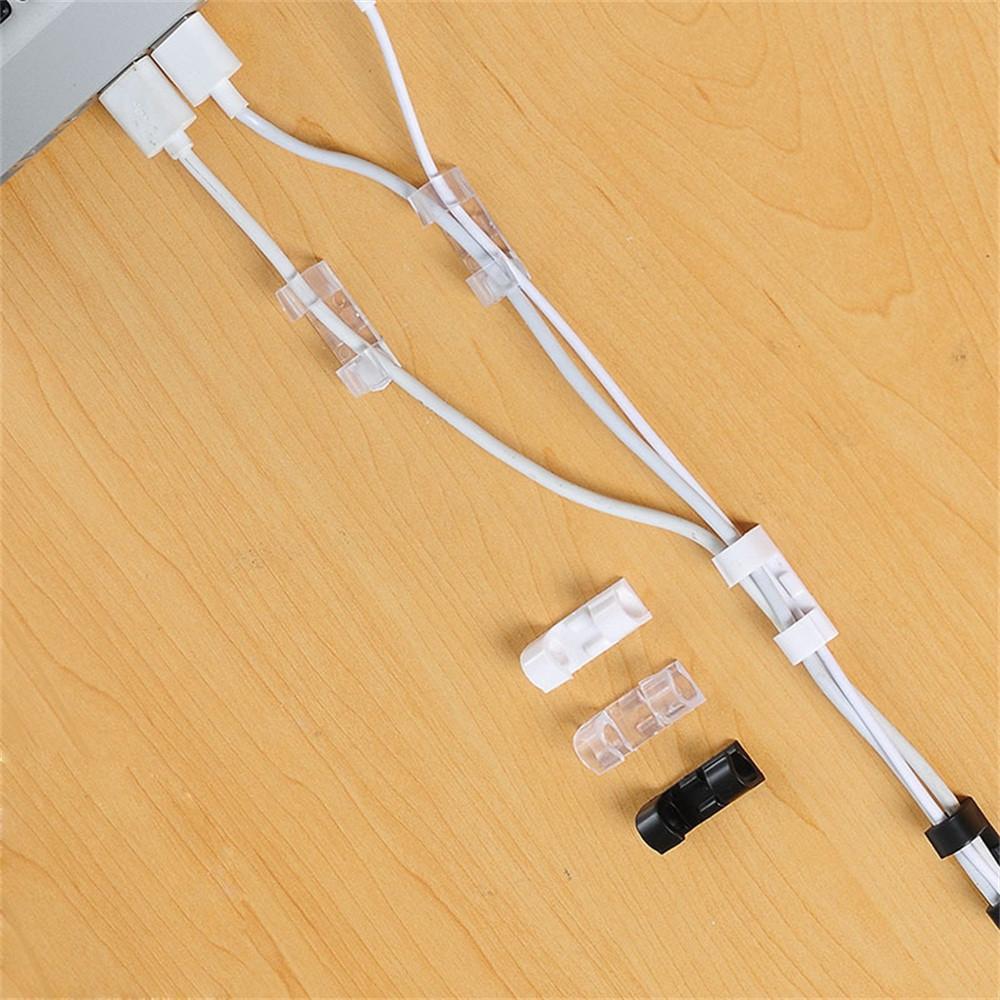
Keyboard and Mouse Hole/Grommet
Not for the faint of heart, this one will involve you finding the nearest drill, attaching a pretty sizable bit, and attacking your desk, it’s that simple, but what results is something that cannot be underestimated. There are ways of tackling cables simply sagging off the back of your desk, but this is the most effective way.
That’s right, simply drill a hole large enough for a USB cable to fit through, and you’ve got yourself a very sneaky keyboard and mouse, cable exit hole, then simply route that toward your under desk cable management of choice to join the pack, and you’re in heaven.
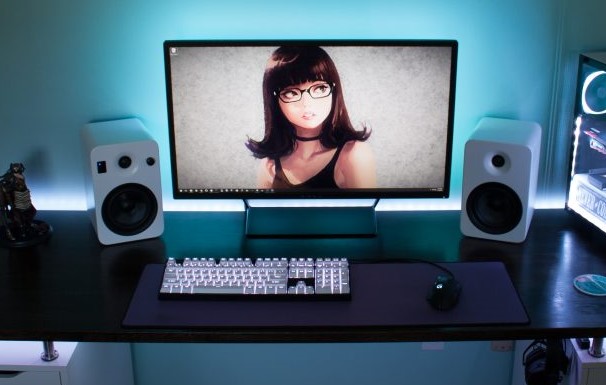
As you can see above, the cables simply fall off just short of the mouse mat here, and what a result, no longer are you faced with that straggly line leading to the edge of your desk, or meeting up with your monitor and joining those cables.
it’s worth noting that this method is worth thinking about, certainly the position of your cable hole being the most important, do you place it somewhere just short of your monitor stand? Do you line it up perfectly with your mouse mat? There are a few choices, but all I’m saying is, think before you drill, you only really get one go at it. You could also tart’ it up a bit with a cable grommet to make the exit slightly more appealing.
It’s not worth a category on its own, but another unique way of tidying your mouse cable up is with a Razor Mouse Bungee, which is designed to simply hold your cable up, personally, I don’t think its the best way to go, but that’s up to you.

Go Wireless
It sounds a bit silly, especially in an article about cables, but without a shadow of a doubt, the best way to hide cables is going to be to simply remove the cables from the equation, and i think we can confidently say we live in a time where wireless no longer dawdles behind wired, well unless were talking about WiFi.
There’s no denying it, certainly cleaner, and there’s no shortage of wireless peripherals today, you can get performance mice and keyboard all with really great specs, I’ve got my eyes on the Corsair Dark Core wireless mouse currently, there’s even a keyboard counterpart and lapboard, but that’s more aimed at living room gaming with a PC.
A wireless headset is an option too, I still use a Corsair Vengeance 2100 wireless headset, it works great and has surround sound, and most importantly, sounds amazing with no lag. Speaking of wireless headphones, I reviewed my Sony WH-1000XM3 recently, and so you can see what I think about Bluetooth headphones here.
Point being, don’t let the word wireless scare you away, those days are gone.
Pick your spot
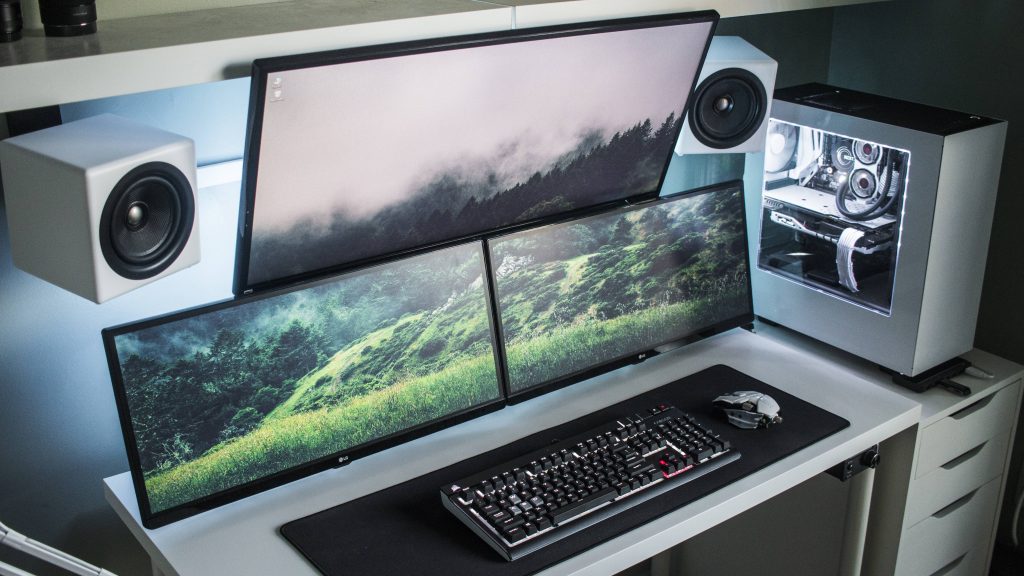
This is a quick one, but choose your location well, if the room only has one power source, pop your desk in front of it, better yet, if your using large items as legs, like the IKEA Alex drawers, put those in front of it, this way, you won’t be forced to trail a power cable along the floor, and you can have nothing visible, as it will go from behind the drawers, into your new cable tray.

See above how the desk is in front of the power, this is certainly better than it being on a different wall entirely, but if the geography of the room allowed it, a better technique would be to place the drawers in front of the power source.
Not using drawers? Using some ties of some variety, stick the power cable to the legs of your desk, and route the cable up, again into the underside cable management. If you absolutely have to have a wire across the room, consider using trunking of some sort.

Trunking will allow the cable to run along the wall, all while blending in perfectly, it doesn’t have to be that horrible rectangle stuff, you can get very slim trunking or rounded stuff like I have gone with above, on my battlestation.
To take it a step further, you could even run your cables inside the wall, this obviously steps into a different realm here, and I don’t advise you to go hacking your wall apart unless you know what your doing, but with a stud wall certainly, this would be easy and make a great impact like the TV does below

A full write up on the above battlestation is also coming soon!
Conclusion
So, the main takeaways from this are that you just have to get that stuff out of anybody’s eye line, that’s half the battle, you can go as far as you like with the rest of it, but the key requirement is to make it invisible.
Wrap/tie/subdue your cables in some way, channel them smartly and efficiently, and use some sort of underside cable management on your desk, to do the brunt of the work for you.
Finally, sit down and enjoy your hard work.