
Table of contents
2021 Update
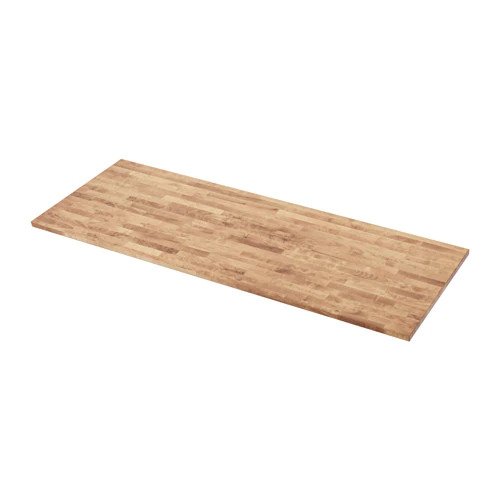
Well, they did it again, IKEA discontinued both of the solid wood worktops I recommended, but there is a new offering, its called the SKOGARP, and it comes in beech, birch, or oak.
Its a shame, but it does look a nice worktop, and will still work with everything below that I mention, if you don’t want to go solid wood, you can check out some of the best particle board offerings they have, I go over a bunch in the post below.
Best IKEA countertop for a desk
IKEA offer a lot of countertops & worktops, but which should you use for your battlestation? Let’s run through them all and go over the pros and cons of each of them.
2020 Update
So, 2020 happened- and IKEA decided to discontinue the HAMMARP worktop. “What now?!” I hear you cry- well all is not lost.
You could continue the ultimate IKEA battlestation, with one of the other items in IKEAS worktop selection, these can be viewed here, however you may notice that 90% of them are not solid wood- to quote: “combines the best of solid wood and veneer.“. Its not for me to say if this will work for you or not.
They are still beautiful pieces and it really depends how much weight your planning to put on top of them, for example, wall mount your triple monitor setup behind the desk and you probably wont even know you don’t have solid wood.
Alternatively, if you still want solid wood, I could only find 1 IKEA offering, that’s right, shell out the big bucks for the RÅSUNDA (£150-£200 at the time of writing) and your back on track with everything I mentioned last time.
The infamous IKEA Reddit Desk
There exists a certain set of components, that alone, may not be all too special, but when brought together, form arguably the most popular battlestation around, and it’s all available from IKEA, I think originally popularized by Reddit, and its not very expensive, when you consider in its primary form your getting a solid wood top to finish how you choose, and tonnes of storage throughout, not to mention a tonne of cable management options, which I go into more detail in this post here.
Now, don’t take this as gospel, there are obviously millions(?) of desks out there, but this one for me definitely hits the spot in terms of looks, price, and usability, that’s why I chose it for my own battlestation, and some of the pictures throughout will be of my own IKEA battlestation, mixed in with a few others, so you can see the different styles and finishes, but really, the sky’s the limit.
DIY?
So, this isn’t a ‘one-click order’ kind of project, but at the same time, it’s not a hard job either, I’m certainly no DIY expert and I managed it. If you can put together flat pack furniture, well- super easy IKEA flat pack furniture, and you can swing your arm back and forth while holding either a piece of sanding paper, or a brush, (not at the same time) then your golden, and you’ll be sitting back and looking at your work in no time.
How Long?
The only part of this build that takes a bit of time, is how you choose to finish the wood, so you could absolutely finish this build in a very easy day, if you went with a simple finish- but typically your gonna be putting multiple coats of finish on the wood, so those need time to dry.
I completed it over a couple of lazy days, not being in a hurry helped, however, you can assemble other things while you’re waiting for stuff to dry, so your mileage may vary, but think a couple of days. Factor in IKEA shipping times if you can’t physically get to a store, though they did charge £30 for delivery last time I used them, which can sting a little- even still, delivery can take up to a month sometimes!
Components
At its core, there really isnt much too this, its made up of two items, each containing their own choices:
- Table top
- Legs/Drawers
And that’s it! Once we decide which of those we want, we are away. Here’s a picture of the 2 components together in a HAMMARP + ALEX format. That’s why this build is a Reddit favorite because it’s so simple, and when you consider your getting a solid wood desk with tonnes of storage in the realm of £200, its a no-brainer, custom solutions will set you back much more and may not even contain solid wood.

Got Wood?
Assuming you’ve gone for the HAMMARP, it comes in a few formats and sizes, I personally went for the 186cm version, but I have to say that is probably my only (very small) regret, the next version up for only an additional £25, is 246 cm, which is absolutely monstrous, but the more room the better, initially I never planned to put my actual tower on top, but now it is, that takes up a chunk of space, so it wouldn’t have hurt to go the bigger size, I still love it though.
It also comes in Birch, you can see the two below, with Birch on the left slightly brighter and a harsher grain, then Oak on the right, a little bit duller and less detailed grain. Perhaps a wood expert can fill me in on the difference between Oak and Birch, however, I do know I went for Oak and I am very happy.

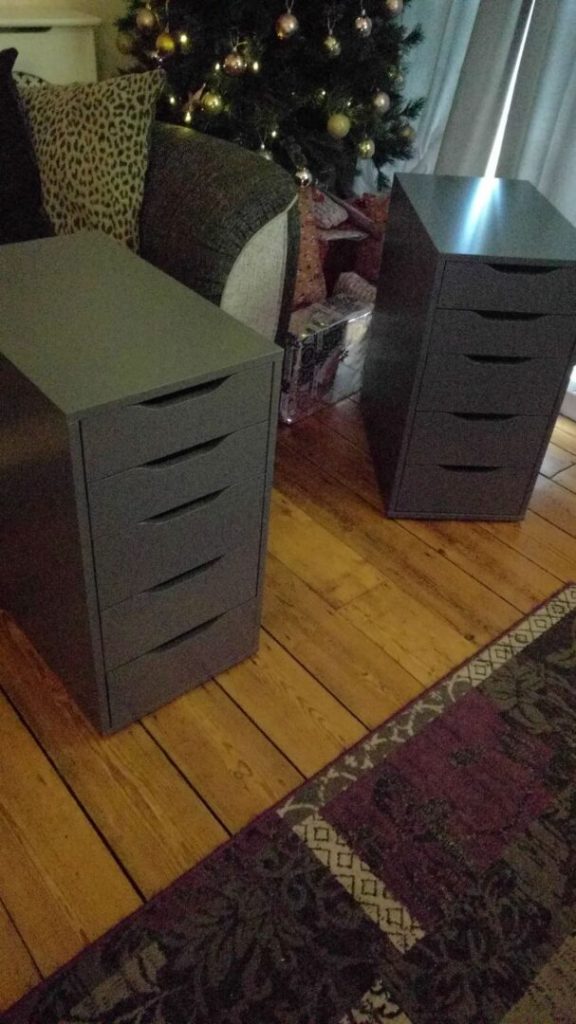
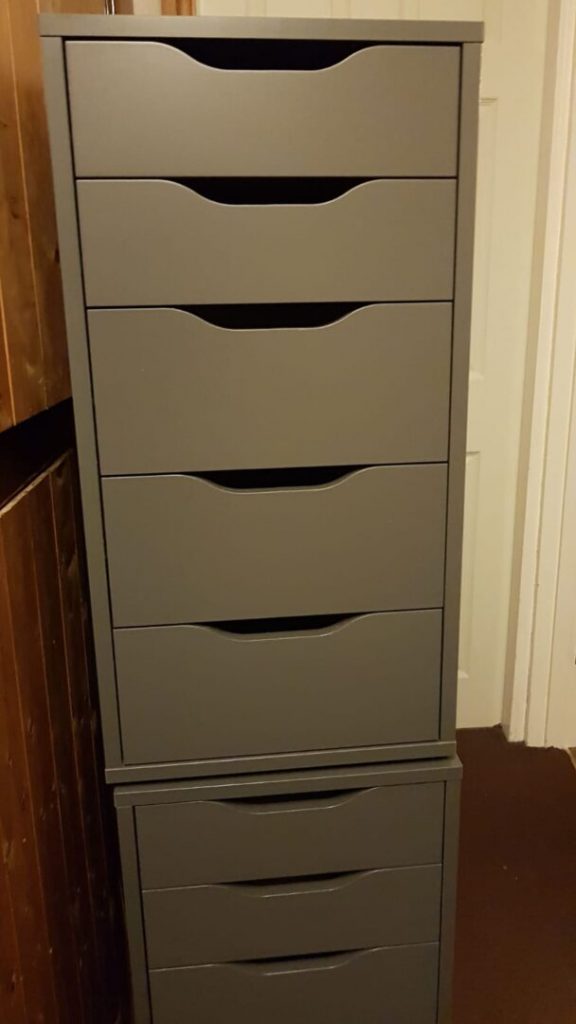
Build the ALEX Drawers
So the first port of call is to get those drawers built, it’s flat-pack central, you will only need a screwdriver, or get yourself a low power electric one if you’re looking to save some time. The ALEX drawers are great, they come in a few colours but I opted for this grey, as I want a nice dark brown for my top wood piece, and think the two will go well together (spoiler alert, they do).
Alternatively, if you didn’t want to spend the money on the drawers, or you need more leg space, you can go with legs, IKEA does a great selection of legs such as the ADILS here, and you could save yourself a tonne of money this way too. Plus it looks great as you can see below, you can see how Jensen did it here.
Treat Your Wood
The next important step is to treat your wood, as it comes unfinished, it’s going to be very coarse and bright, you can keep it bright if you want, but personally, I stained mine. Find yourself a big space, I opted for a garage floor at a friends house, and we built the same desk over the course of a couple of days, and your going to need some sanding paper, you don’t need to go mad with it, 2 types will do:
- 250 Grit
- 150 Grit
Start with the 150 and eliminate most of the rough spots and high flakes, once you’ve done a couple passes with that, go to the 250 grit, and this will finish the wood off leaving it lovely and smooth, the great thing is if you change your mind about the finish or decide you want to fancy it up in 3 years, its just solid wood, so get your sandpaper back out and crack on!
Finish your wood however you like, you can use a stain or a varnish if you like the colour of the raw wood, the varnish will accentuate all the grain, I opted for a dark Danish oil similar to this.
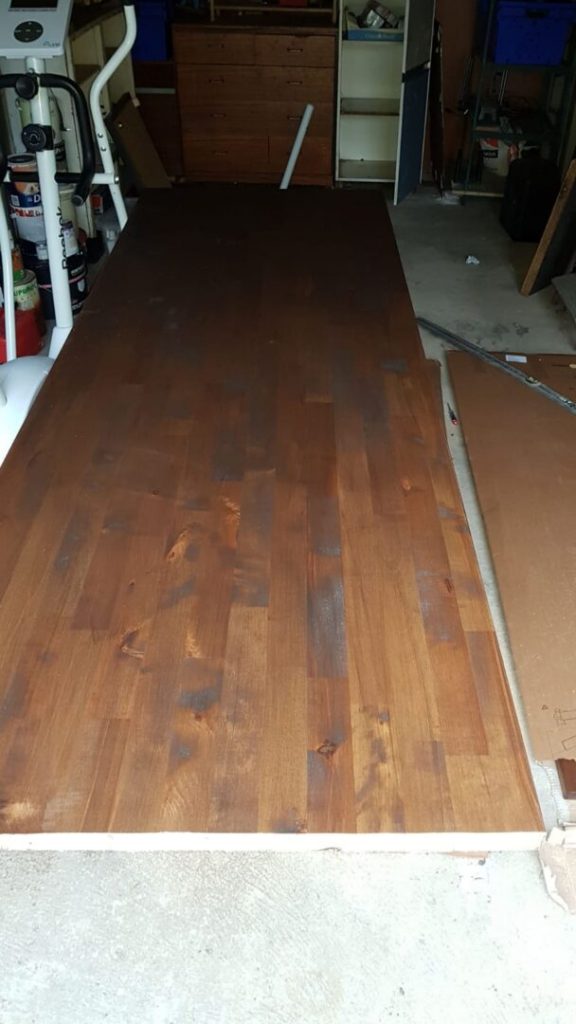
You’ll need to do some sanding between your coats until your happy with the colour, but remember to always finish with another sand, as the finish you apply can dry quite bumpy.
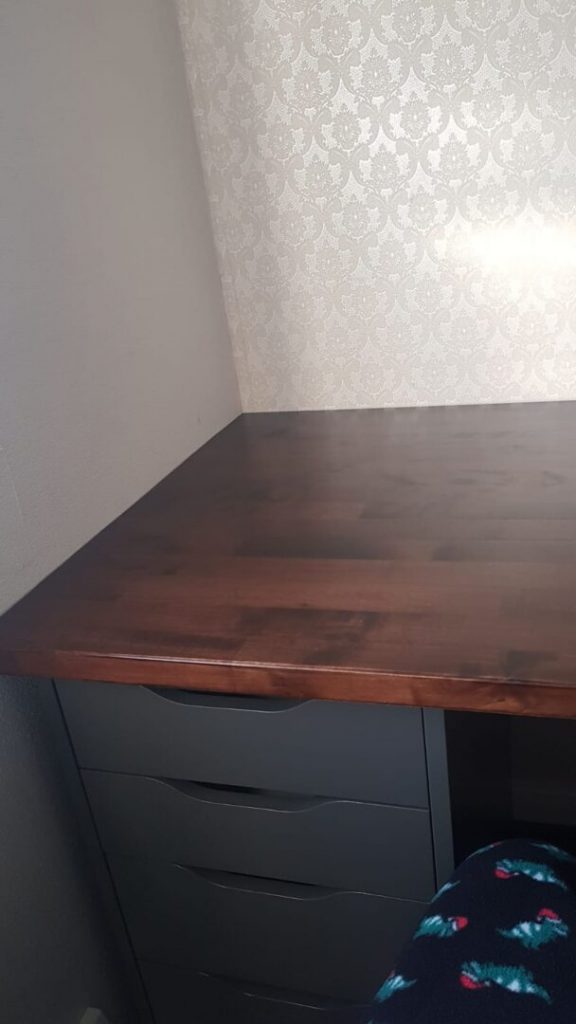
Here we can see my friends desk who did his at the same time (yes, we built the exact same ultimate IKEA setup, because it is that ultimate), which ended with a very smooth and glossy finish, and still has that finish even now. The space my friend had above ended up being a couple of centimeters shy of the total size of the wood, so here the beauty of solid wood came in, it was simply cut to size, and now it looks like a custom fitted piece, which I guess in a way it is!
Combine the two
This next part is easy, we’re going to combine the desk and our drawers, the real easy way is the way I chose to do, because the drawers, or the wood, (I can’t remember which, sorry) come with those little rubber separator objects, they’re very thin and clear, but they do a great job of seating the wood just off the drawers, while gripping it also, I genuinely can’t move mine without really trying too, definitely not from a sitting position if I just lean on the desk, for example, you can see them in action here.

You could also go with an L bracket, but you’d have to fix it to the drawers and ruin the lovely finish, I definitely prefer this ‘screw-less’ solution, stick 4 of them on each corner of each set of drawers, your laughing.
Cable Management
Now, I don’t claim to be an expert on the subject, but you can find all about this stuff in my cable management mega post, you’ll find some awesome techniques and tips on controlling the wiry fiends.
Here’s a small sample of some of the cable management techniques you’ll definitely be able to achieve using this desk build as a baseline.
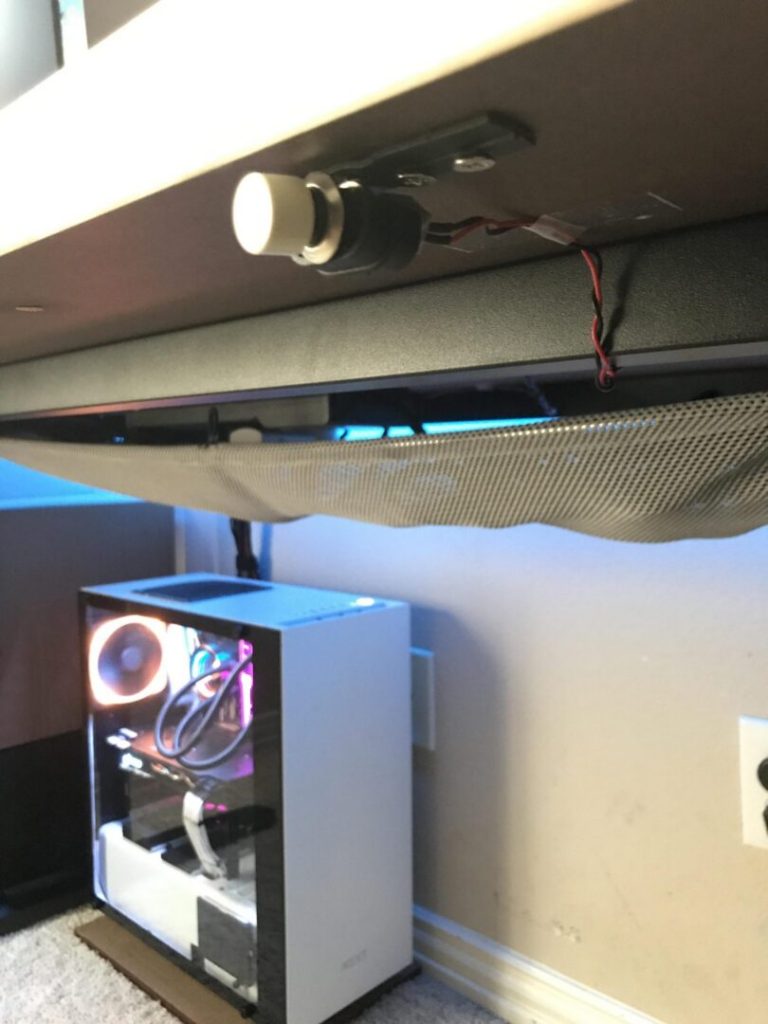
Undernetting 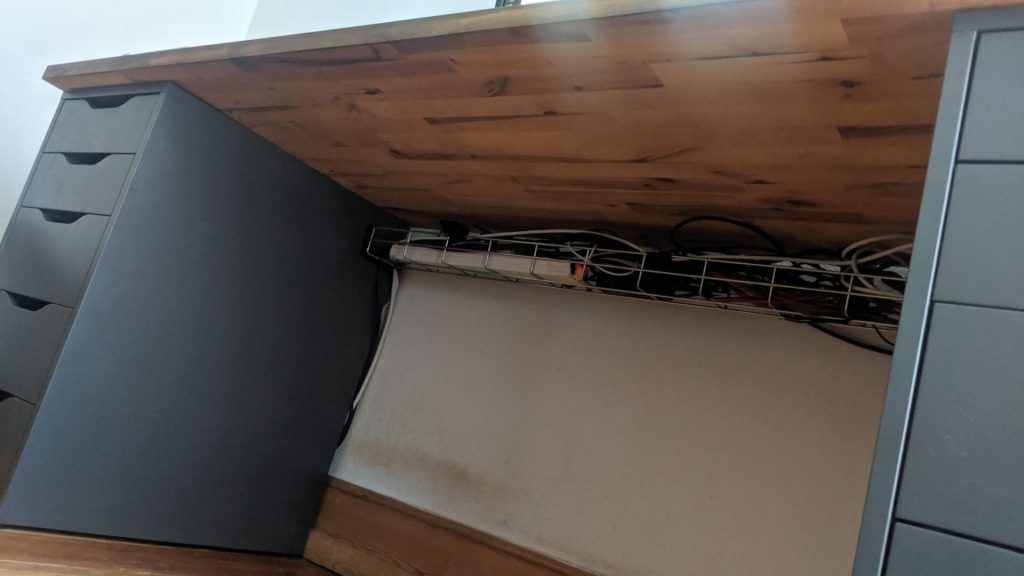
Undertray 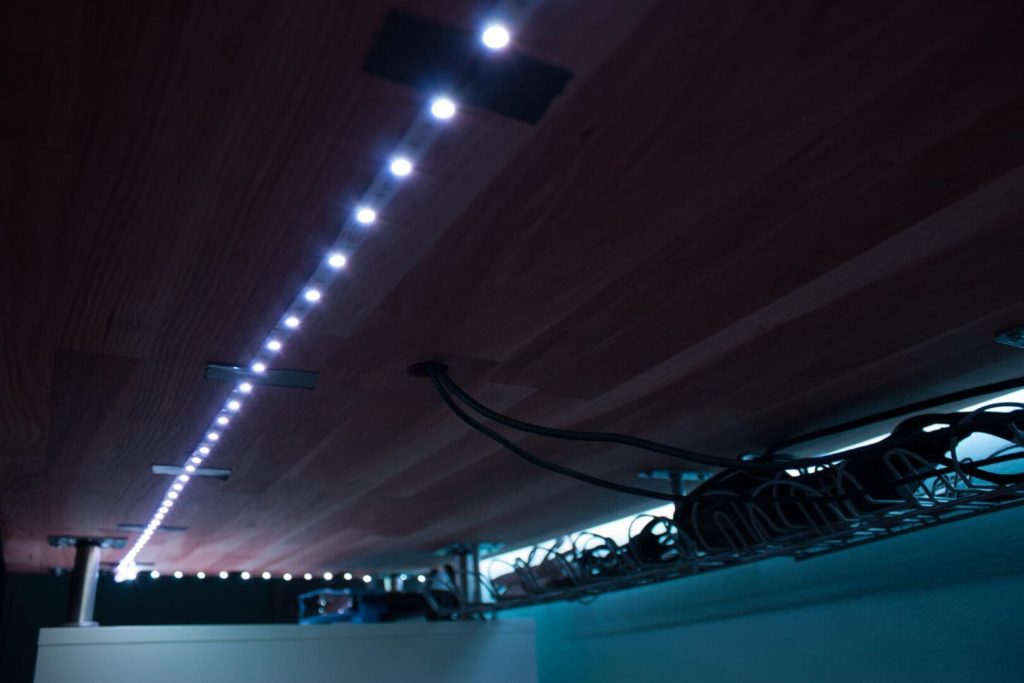
Undertray 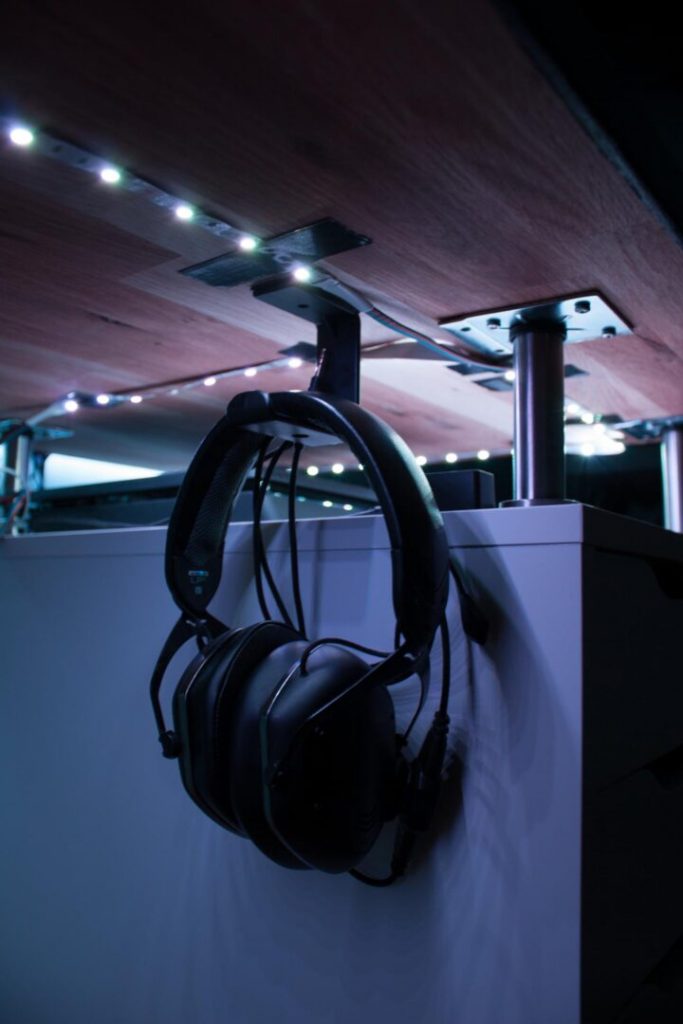
Again, to check out more about those techniques, have a look at the post below here on Rigz, all about cable management.
Ultimate Cable Management guide for your Battlestation/PC
In this post, we look at all the best techniques for tidying up your cable management on your Battlestation, with these tips you’ll be taking the cable management of your gaming desk to the next level.
Give me height
If you prefer your desk to be higher, why not set it on top of some risers, like baecitylight’s did on his build, featured on Rigz here. These LANDSKRONA legs are available on Amazon and will lift the desk quite a bit higher, so make sure your chair is ready to go up!
Additional Bracing
Do you need a middle leg with this IKEA set up? Personally, I don’t use one, and haven’t noticed any sagging of any kind in the year+ that I’ve been using this setup, including one monitor all the way to three, depending on how I’m feeling, I think part of it is that the ALEX drawers, reduce the strain because they come quite far into the middle of the desktop, so if you choose legs instead of drawers, you may want to monitor sag on your setup, and counter it with a middle leg, but make sure you put it far back enough so that its not in your way.
Lighting
Without a doubt the best bang for buck in this department, is a cheap light strip, you can get a fairly lengthy reel and even a wireless remote with a tonne of colour choices for a few pounds, and they go up from there in terms of features and apparent quality, but I ran a cheap one that lasted as long as my last desk remained in my possession (years) and it never had a fault!
Simply run the light strip on the underside of the desk, to create an awesome downward glow like this rig.
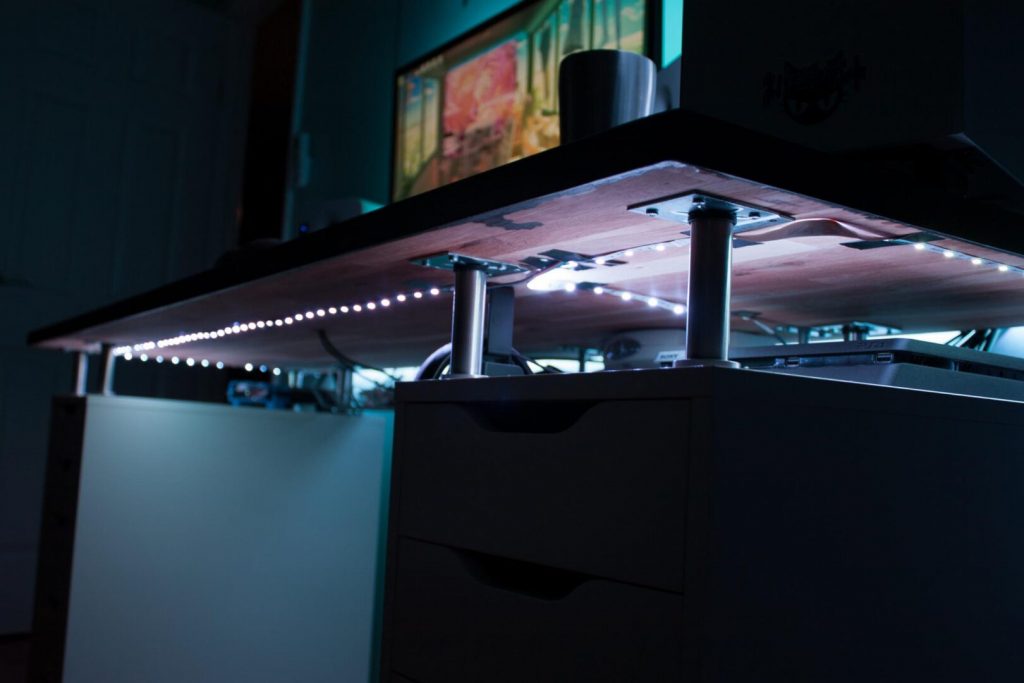
sure, from this angle it looks strange, but when we hit you with the money shot, I think you’ll agree it looks awesome! You can even follow suit and run some of that spare RGB lighting strip behind the monitor, for extra glow.
Got cash to spend? Consider a Nanoleaf setup, don’t get me wrong, they are expensive, but they’re a very high-quality product and produce some awesome results, like how universoul did here, going for a rocket theme, where the colours too have been customized to match the rest of the station, great work!

Or ifred with a crazy amount of Nanoleafs’, you probably don’t need to go this far, but man does it look cool! I can also imagine this can would light up a small street if one were to try.

If you’re already involved in the Phillips Hue ecosystem, there is also the Hue light strip, which you can obviously tie into the rest of the lighting in the room, and get something very custom going on.
Conclusion
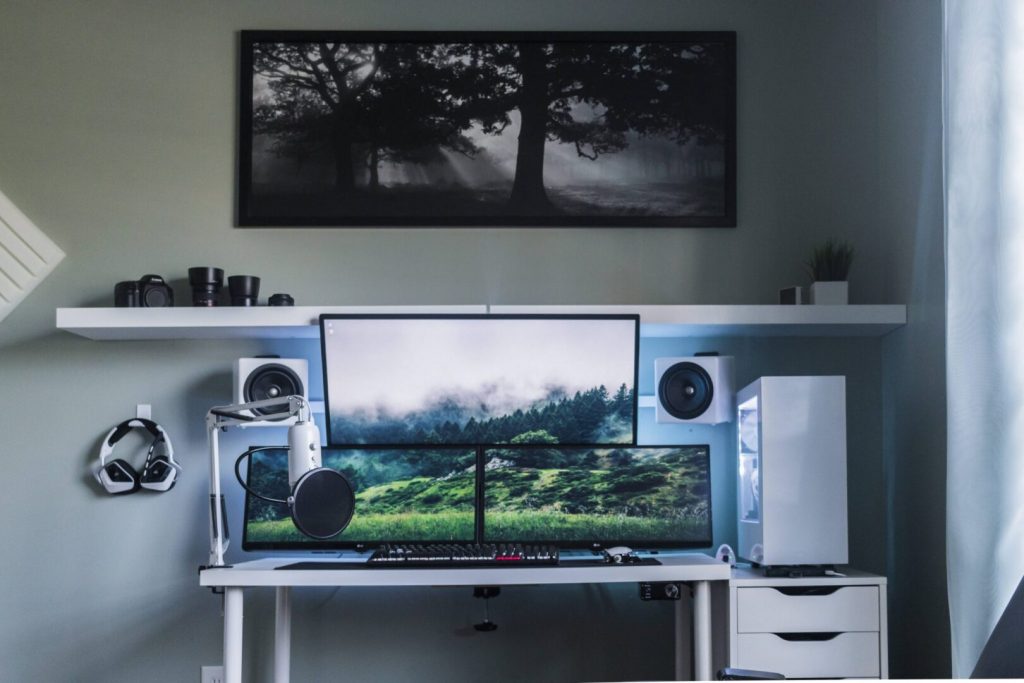
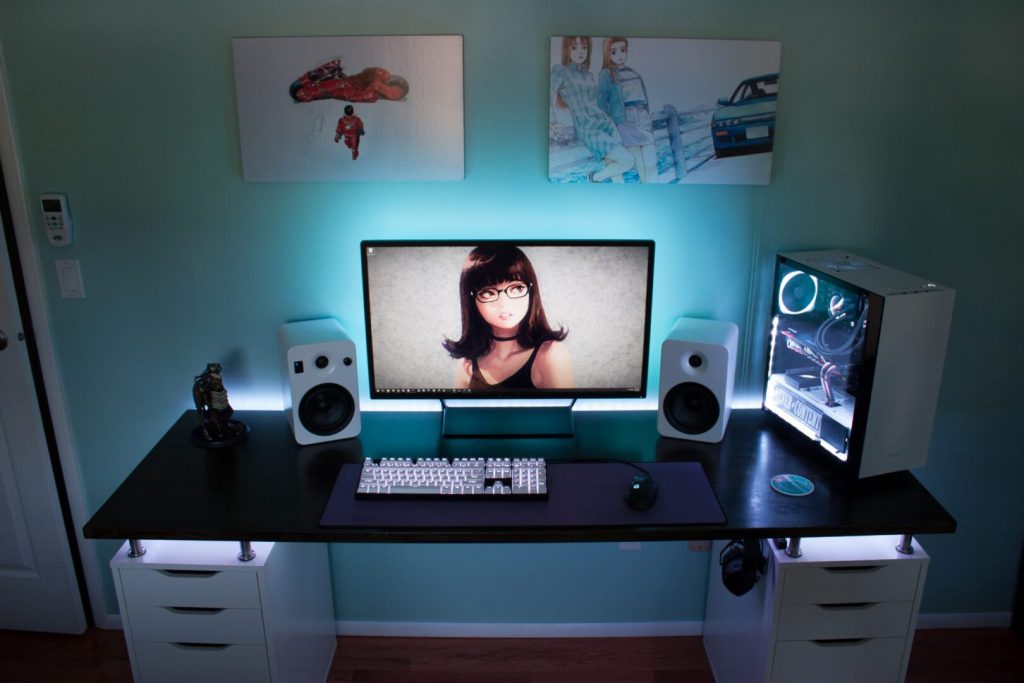
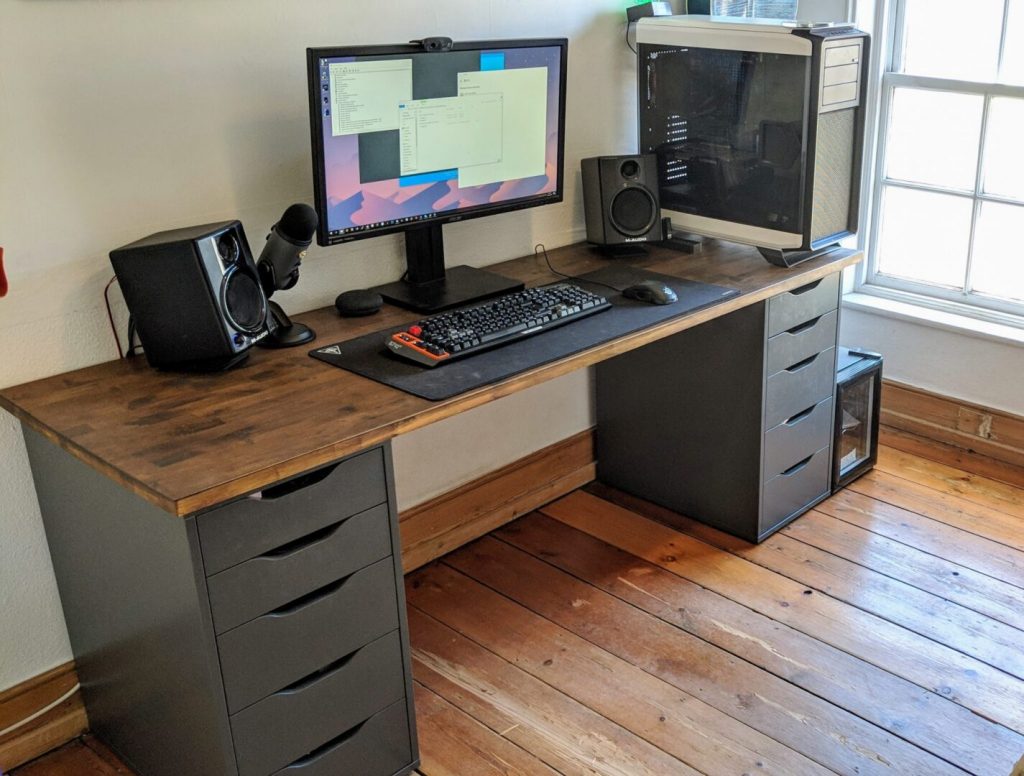
So there you have it, its a very popular build because its robust, not too expensive, and open, its easy to alter and make your own, and I’m sure this won’t change for a while as the most popular setup, here is my version of the build, now I know, its certainly not the fanciest build going, but it’s mine, and I have more plans for it.
You’re naturally going to need a chair to go with this, you can read about some of the best gaming chairs for under $200, over at profanboy, here.
This setup really makes the room great for me at least, and I know because its solid wood, it’s going to be great for a long time to come, and I don’t own enough junk to fill the drawers unless I start putting my consoles in there. (that was a low jab)
Got your own spin on the IKEA battlestation? let me know and we could feature your build next, just take yourself some nice pictures, and tell me all about it at hello@rigz.io.
Thanks for reading!